Mechanical Testing
Tensile Testing, Fastener Testing, Hardness Testing, Compression Testing, Bend Testing, Impact Testing, and specialized services like Adhesion/Cohesion Testing
Whether you’re a design engineer, manufacturer, buyer, or seller, having reliable and accurate data about your materials is crucial. Our Mechanical Testing services are designed to provide a thorough understanding of your material’s properties, helping you make informed decisions for diverse applications.
Tensile Testing
Maximum amount of force that a material can withstand.
We calculate the tensile strength, also known as ‘ultimate strength,’ by pulling materials from either end until necking occurs. This form of testing is essential for determining material suitability and performance under various applications.
READ MORE…
Fastener Testing
Proof Load Test guarantees fasteners will not break until a specified load.
Axial and Wedge Tension Tests to Proof Load Tests, we have a wide range of fixtures to perform full-size tests on fasteners.
READ MORE…
Hardness Testing
The linear correlation between hardness and strength. Hardness testing for high-strength steel, carbon, fasteners, welded joints and more.
Rockwell, Micro-Vickers, and Macro-Vickers hardness testing, allowing us to characterize materials like high-strength steel, carbon, fasteners, and welded joints accurately.
READ MORE…
Compression Testing
Measure strain, stress and deformation under a copressive load.
Measure strain, stress, and deformation under a compressive load with our Compression Testing services. Ideal for materials such as springs, dampers, rubber, or foams, this test provides valuable insights into how your materials perform under pressure.
READ MORE…
Bend Testing
Find the right metal for your products by measuring strength and ductility under pressure.
Our Bend Testing services include Guided Bend tests, Face-Root weld bend tests, and Side bend tests. A comprehensive evaluation of material strength and flexibility.
READ MORE…
Impact Testing | Charpy
Measure the energy need to fracture steel or material. Ductility measurement under temperature variations.
Our tests cover regular and sub-size Charpy V-notch tests at both room temperature and sub-zero temperatures.
READ MORE…
Customized Mechanical Testing
Test not only steel but also ropes, nylon, full-size parts, non-standard shapes and more.
Our capacity to develop testing plans for nonstandard conditions ensures we cater to your unique requirements.
READ MORE…
Adhesion / Cohesion Testing
Test coating quality.
Ensure coating quality with our Adhesion/Cohesion Testing services. Test how well coatings adhere under tension, providing critical insights for applications like thermal spray coatings and polymer coatings.
READ MORE…
Message Us
Get In touch below. Ask Any Question or
Call Us
(905) 760-9322
Tensile Testing
Round/Flat/Tubular/Welded Specimens
UTS, YTS, Elongation, Reduction-of-Area, r-Value, n-Value
Tensile testing is a form of mechanical testing service used to calculate the tensile strength (also known as ‘ultimate strength’) of a material. This tests the maximum amount of force that a material can withstand while being pulled from either end before ‘necking’ (necking is a form of tensile deformation where lots of strain will localize in one area of the material resulting in a part of the material straining more than the rest and creating a visible ‘neck’ in the sample – this neck will then become weaker and eventually be prone to snapping completely). This then, like other forms of mechanical testing, can be used to dictate the use of the material and to test suitability for particular applications.
Like other forms of mechanical testing services, often the tensile strength will be recorded qualitatively as falling under the category of ‘brittle’ or ‘ductile’ and this at a glance can help to dictate the material’s use.
Normally testing will involve taking a small sample of the material which will have a fixed cross-section area where necking is likely to occur. The material is then pulled using a controlled but gradually increasing force until the point at which the sample changes shape and necking occurs, or at which it completely breaks.


Fastener Testing
Axial and Wedge Tension Test
Proof Load Test
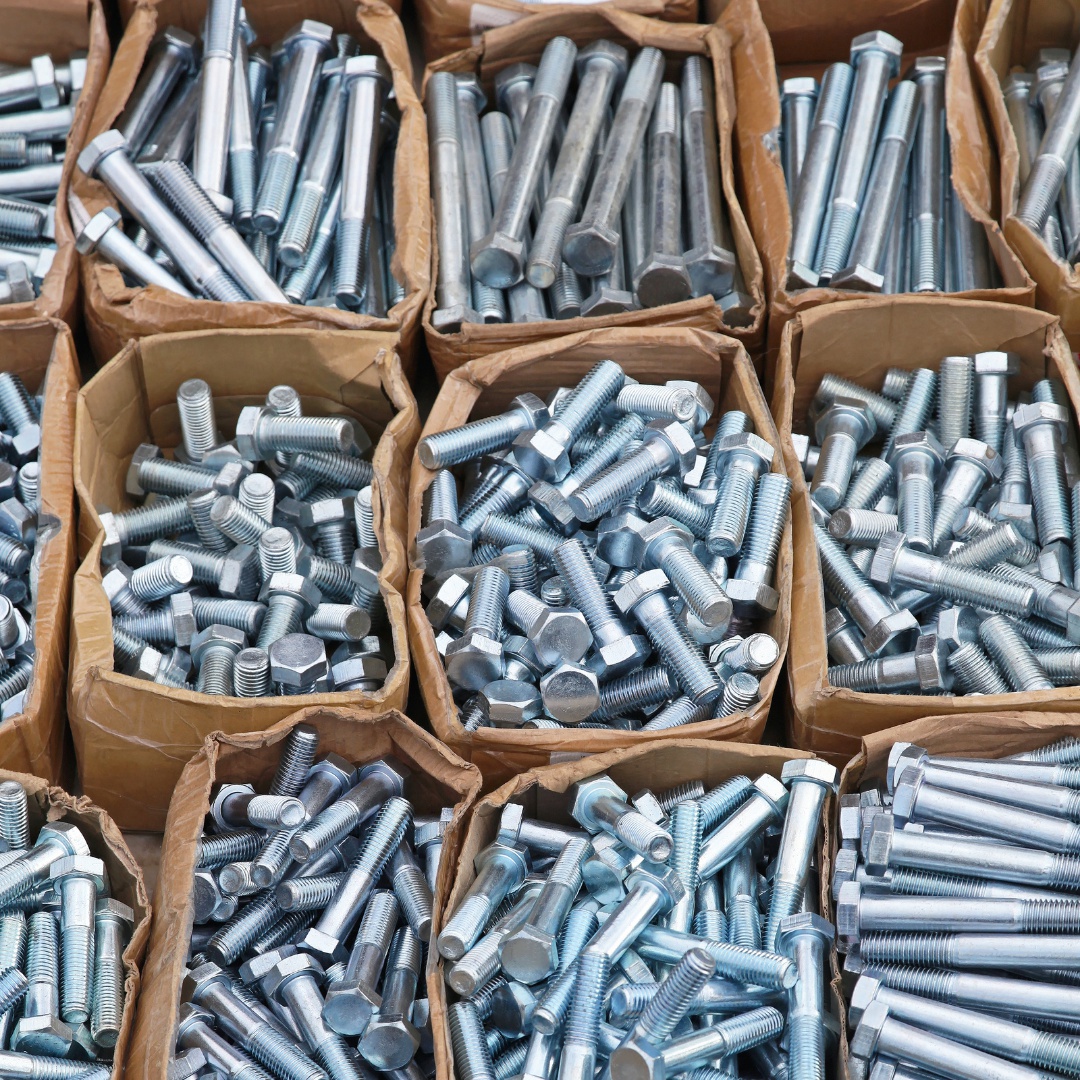
We have a wide range of fixtures to perform full-size Axial and Wedge Tension Test on fasteners and also have the capacity to do testing on machined from samples to determine properties of fasteners that cannot be tested in full size.
Proof Load Test guarantees that fasteners will not break until specified load. In case of a high-risk application, each item should be tested before going into service.

Hardness Testing
Rockwell
Micro-Vickers & Macro-Vickers
Rockwell Hardness
Rockwell Hardness is a quick and economical way to receive data about material mechanical properties, as there is a linear correlation between hardness and strength.
Different scales are used in practice depending on material shape and hardness.
Rockwell HRC scale characterizes hard materials, such as high-strength steels, quenched parts, and fasteners.
Row low and medium carbon steels are softer and characterized by Rockwell HRBW hardness.
Thin sheets or soft materials are tested with lower loads on superficial scales, such as HR15N, HR30N, HR45N, HR15T, HR30T, HR45T
Vickers Hardness
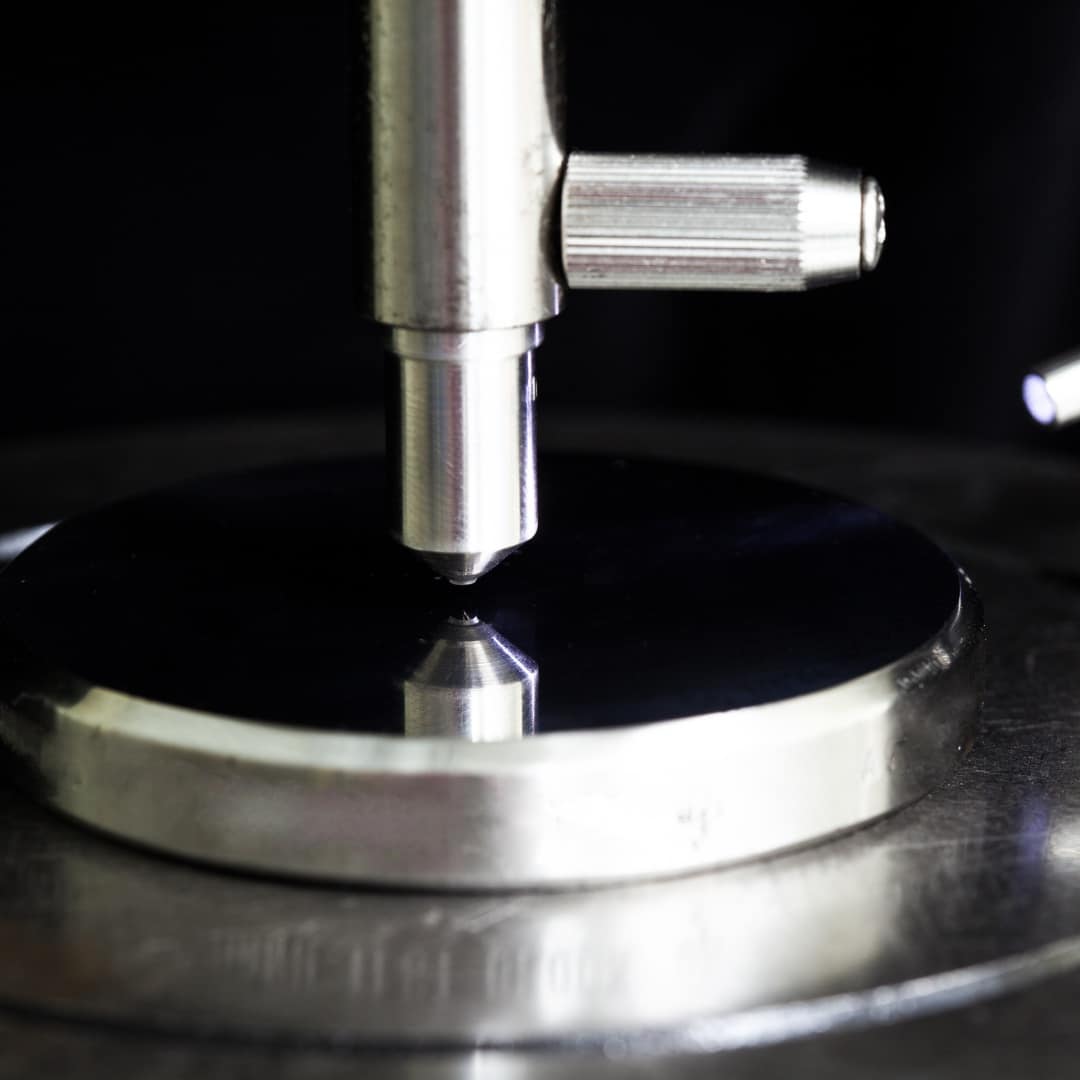
Vickers HV hardness testing is a more precise method and in many cases requires specific preparation of the testing surface.
Typically, this method is used for materials with non-uniform hardness such as case hardened parts, welded joints, parts with nitrided, carburized, or thermal spray coated surfaces.
Vickers hardness indentor leaves small indentations, which allow detecting hardness profile within several micrometers from the surface.
Also, the Vickers hardness method allows checking hardness in very small or very thin samples, which cannot be tested by other methods.


Compression Testing
Flatten/flare test
This type of test is commonly used for checking material performance under pressure. The goal of a compression test is to measure strain, stress, and deformation under compressive load. Often this test is used for springs, dampers, or non-metallic materials, such as rubber or foams. The shape of the samples depends on the testing product. The test may be performed in full size or on the prepared test piece.
Bend Testing
Guided Bend test
Face-Root weld bend test
Side bend test
A mechanical testing service used to test the strength of a material and its ductility when placed under pressure.
The bend test helps to advise manufacturing companies and designers on which metals are suitable for use in which products and how products using certain materials should be used. Here essentially the material will be subjected to testing and it will be recorded what the amount of pressure required is for it to bend and for it to eventually break. After the item is bent, the material will be inspected for cracks, etc. on the outer surface. In other cases, bend testing can be carried out with three or four points in the bend to test the material’s properties under particular circumstances.
To begin with, the test material will be cut into rectangular bars. In other cases, the bend testing will be used on whole samples of the material as they are intended to be used. This is often the case with microelectronics applications.
Bend testing essentially does what it says on the tin and involves testing a material’s ability to bend. This has many uses in engineering and allows the user to determine how much weight the item can bear and whether it will snap at a certain point beyond this or simply distort.
This method is destructive, meaning that the material will lose its shape and won’t be re-usable in its current form. At the same time, the results are sensitive to many confounding factors such as the precise positioning of the material and other aspects.


Impact Testing
Charpy V-notch: regular and sub-size
Room temperature and sub-zero temperatures
Impact test allows measuring the energy needed to fracture a material. Test results characterize the toughness of the material. As higher energy absorbed before braking as higher ductility. The more ductile an object the more it will be able to be deformed before breaking
The test procedure includes the preparation of three standard specimens, which are V notched before testing. The notch acts as a stress riser and initiates fracture. During testing, the pendulum is first raised to a specific height, the sample is appropriately placed and the pendulum is allowed to fall freely in a regular manner to strike a sample. The energy, absorbed by the sample before breaking is read on the display.
Material ductility depends on temperature. By impact testing, it is possible to determine the ductile-brittle transition temperature (DBTT), which especially important for application in different climate regions. For DBTT determination sere of samples are tested at different temperatures. DBTT temperature is determined as a temperature when the energy needed to fracture the material drastically changes.
The Ductile/Brittle Transition Temperature
The ductile-brittle transition temperature is the temperature at which a material will become brittle from ductile. The terms ‘brittle’ and ‘ductile’ refer to the way in which the materials either deform or fracture under pressure. Where they deform they are called ductile, and where they break on a flat surface they are called brittle.
This measurement is obtained using Charpy impact testing services in which a large pendulum is used to strike a sample sheet of the material at different temperatures. Of course, it is quite hard to measure a ‘precise’ temperature at which the material changes as many materials will show a more gradual effect. In some cases then the Charpy impact testing services will strictly count the transition temperature at that where the fracture caused is a certain size (though this is a quick way to get through a lot of material).
Such mechanical testing services are highly important to ensure that products and equipment are not only reliable at room temperature, but also for use in hotter and colder climates.
Customized Mechanical Testing
Numerous materials are used in modern industries, including nylon stripes, different types of ropes. They should be tested for strength before sending in service. Also, full-size parts of nonstandard shapes or assemblies need to be proof loaded. We have the capacity to develop a testing plan for nonstandard conditions, design, prepare fixtures and run the customized test to obtain sound results.
Adhesion / Cohesion Testing
Currently, different types of coatings on the surface are widely used to improve parts performance. It is important that coatings will not peel off during service. We perform testing of coating quality by testing on its adhesion/cohesion strength during tension. This test is commonly used for thermal spray coatings.
Peel tests mostly used to determine the adhesion of polymer coatings.
